Getting started with ClaimOps
I built ClaimOps to help restoration and roofing contractors get from an estimate comparison to a stronger supplement package — without guessing what to do next. The tool does the math and the formatting; you stay focused on the strategy.
Here is what you do in ClaimOps, start to finish.
Why this process matters
Carriers routinely under-scope restoration claims. The gap between what your contractor estimate says and what the carrier's Xactimate says is money on the table — but only if you can document it clearly. ClaimOps surfaces every line-item difference and builds a package that gives your supplement a real shot at getting approved.
The six steps
- 1Create a claim. Click New claim on your Claims dashboard. Enter the claim number, the property address, and the carrier name. Everything else on the form is optional — you can add policy and adjuster details later, or skip them entirely.
- 2Upload both estimates. Upload your contractor estimate and the carrier's ACV/Xactimate as PDFs. ClaimOps parses both automatically — usually under a minute. See Uploading estimates for supported formats and what to do if parsing fails.
- 3Read the comparison. ClaimOps compares the two estimates line by line and flags every gap: missing items, quantity differences, and price differences. You'll see the total dollar gap at the top. See Reading the comparison to understand what each difference type means.
- 4Strengthen your supplement. Go to the Strengthen tab for each flagged item. Add photos, write a support note, link building codes, or run Smart Match to find relevant evidence. The more you back up each item, the stronger the package. See Strengthening your supplement.
- 5Generate the package. Click Generate and ClaimOps builds the PDF — cover letter, line-item backup, and any evidence you attached. Review the PDF before you send it. It's only as good as the estimates and evidence you put in.
- 6Send to carrier or mark as submitted. Send the package directly from ClaimOps, or download it and deliver it your way. Either way, mark the claim as submitted so you can track where things stand. See Generating and sending for the full walkthrough.
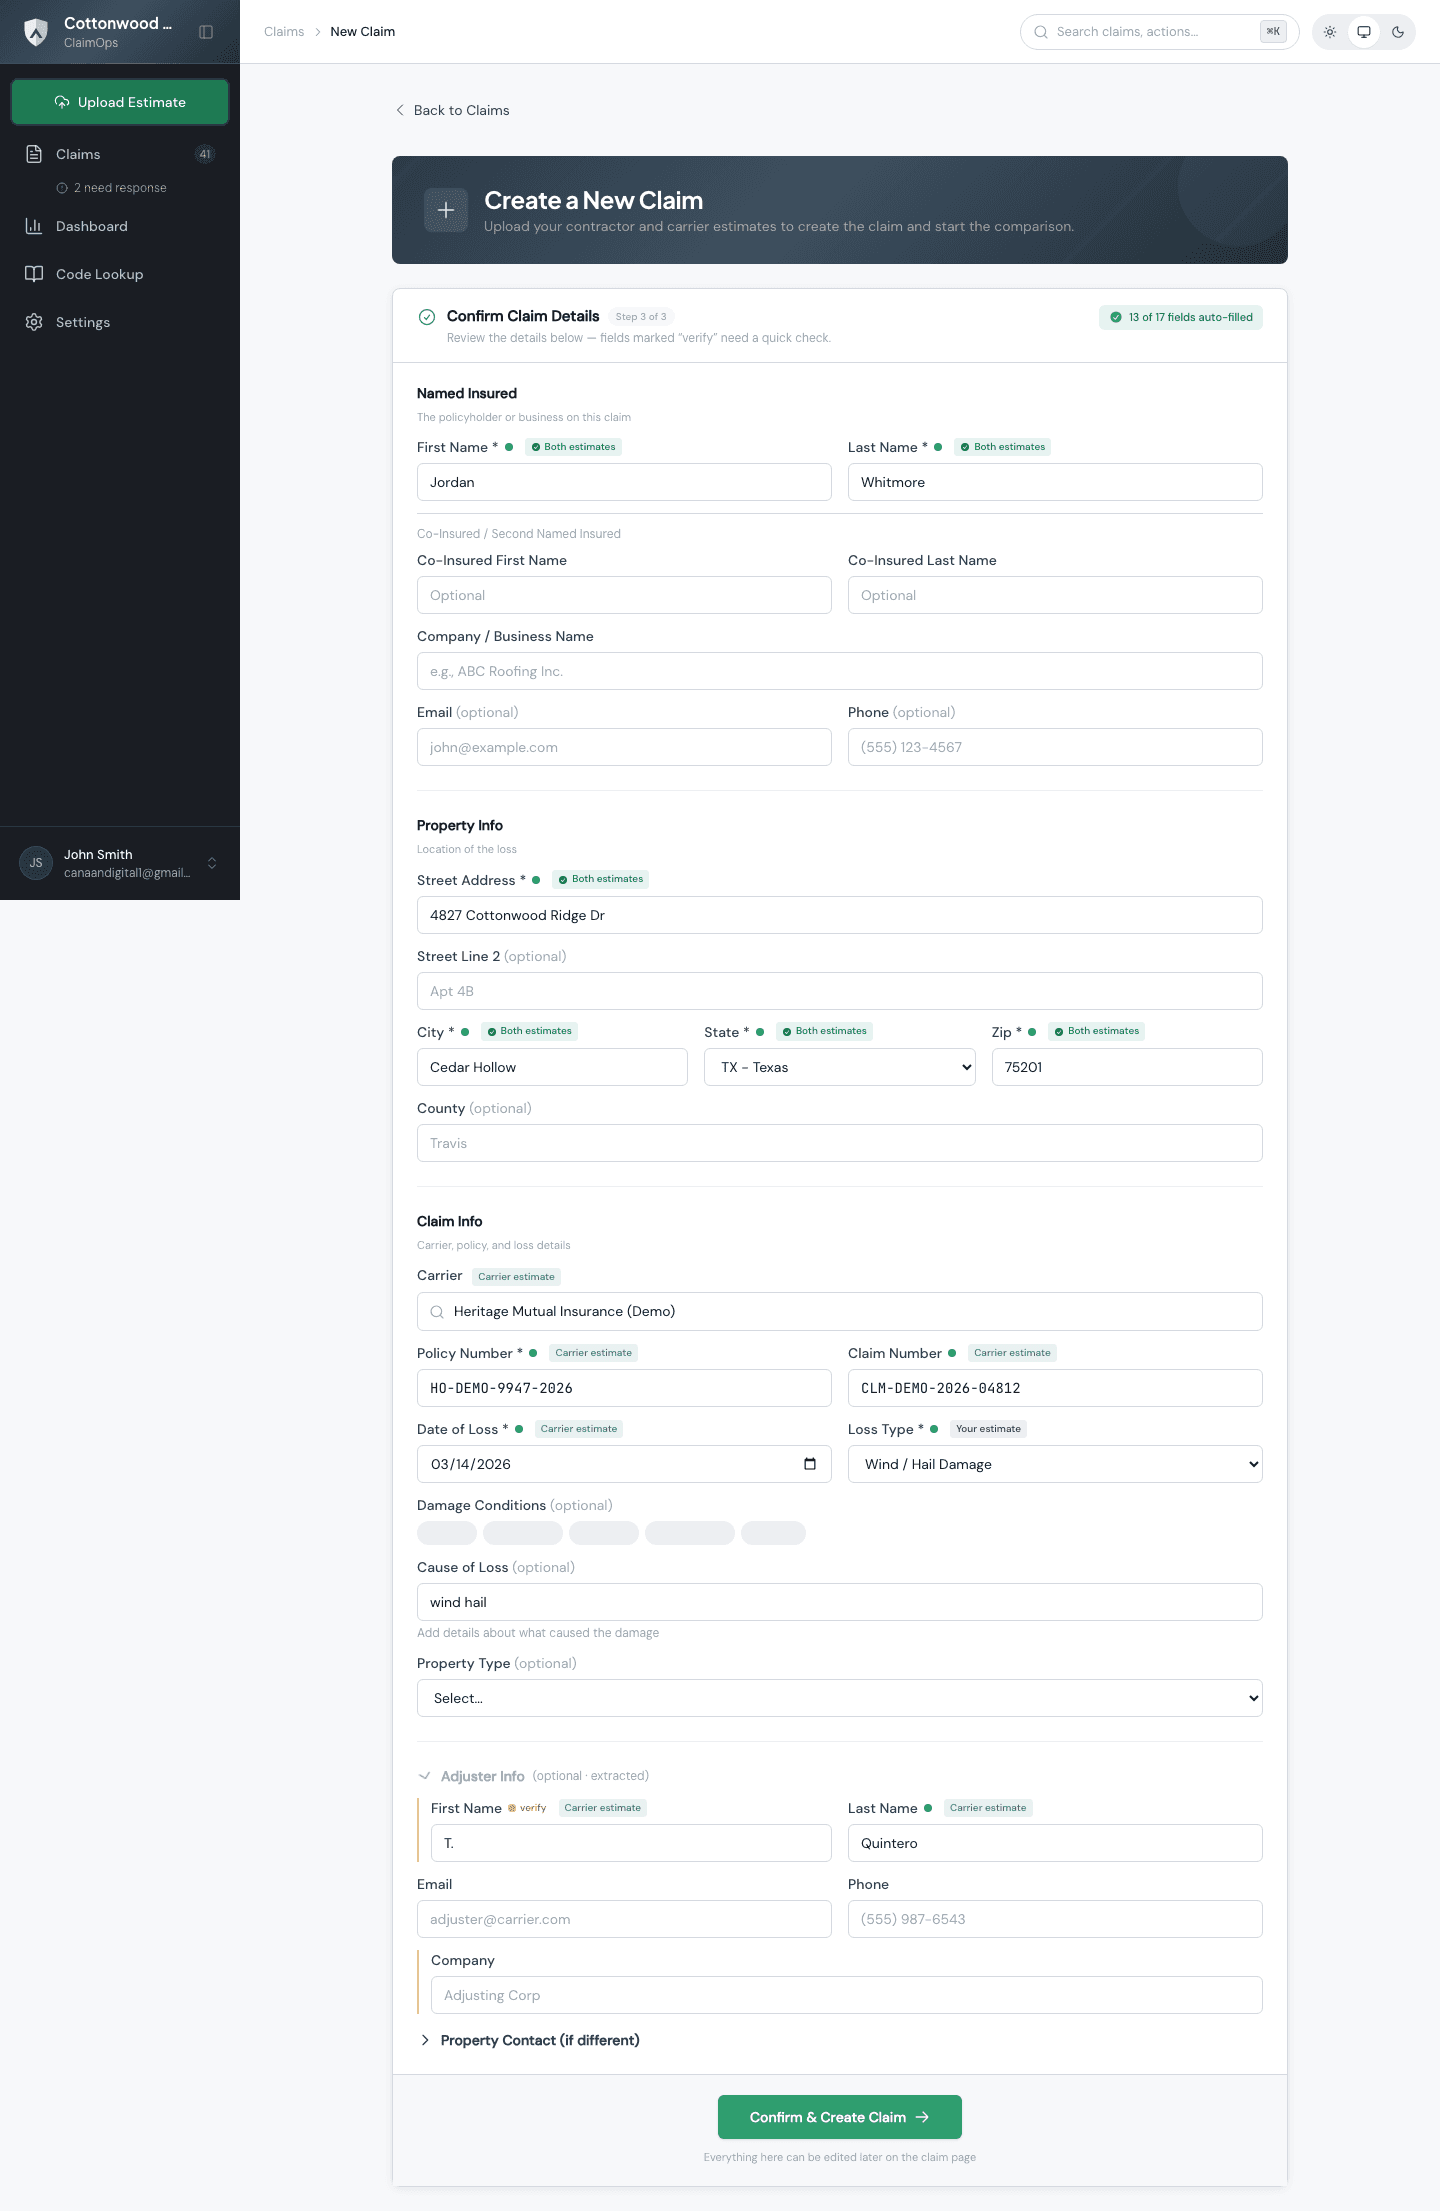
Step 1: Creating a new claim. Enter the claim number, address, and carrier name to get started.
What to check before you dive in
- You have both the contractor estimate and the carrier's ACV/Xactimate as PDFs.
- Your first claim is free — no credit card needed to try the full workflow.
- After your first claim, you'll be prompted to subscribe if you want to run more.
- ClaimOps is a desktop tool — it works in your browser, no install needed.
Common mistakes
- Uploading the same estimate twice. One file is your contractor scope; the other is the carrier's. Make sure you know which is which before you upload — it affects everything downstream.
- Skipping the Strengthen step. The comparison tells you what's different. Strengthening is what makes the supplement package worth sending. Don't generate a package with empty line items.
- Sending without reviewing the PDF. Always open the generated PDF and check the numbers before it goes to a carrier. The package reflects the data you put in — a quick review takes a minute and can catch input errors before they reach the adjuster.
Where to get help
If something doesn't look right or you're stuck on a step, use the Help menu in the app (top-right navigation) to contact support or send feedback. You can also email contact@claimops.io directly.
Ready to go further? Start with uploading your estimates.